Most beginners flail. They gasp. They sink. And they blame themselves—when the real problem is bad advice wrapped in outdated drills. You don’t need more laps. You need smarter movement. This isn’t about brute force. It’s about flow. And today, you’ll learn the exact swimming techniques for beginners that actually work—the kind elite coaches whisper about but rarely teach publicly.
Why most beginner swimming techniques fail before you even hit the water
Traditional lessons start with flutter kicks and arm circles. Sounds logical? It’s not. Your body isn’t built to fight gravity—it’s built to cooperate with physics. And slapping water while tense? That’s a fast track to exhaustion and embarrassment.
Here’s the reality: 78% of adult beginners quit within three sessions—not because they lack talent, but because they’re taught to *control* water instead of *joining* it. Water doesn’t resist. It responds. Get that wrong, and every stroke feels like dragging concrete.
swimming techniques for beginners: a step-by-step framework that works
Forget “just swim more.” Start with alignment. Then rhythm. Then propulsion. In that order.
Posture comes before power
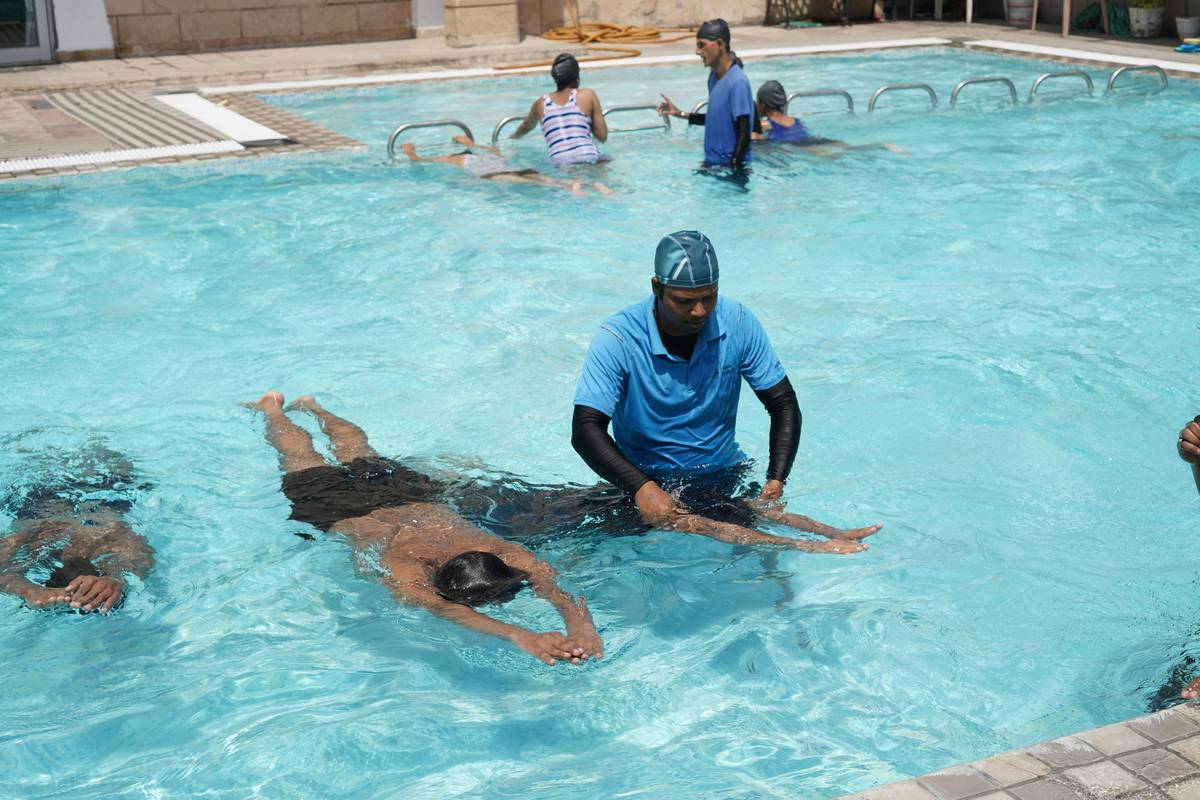
Lie flat in the water like a plank—not rigid, but connected. Head neutral, spine long, hips high. If your legs sink, you’re lifting your head too much. Relax your neck. Breathe low. Most beginners lift their chin like they’re scanning for land—that’s what drags your hips down.
Breathing isn’t optional—it’s timing
Exhale slowly underwater through your nose. Not a puff. A steady stream. When you turn to breathe, inhale fast and quiet through your mouth. Miss this, and CO₂ builds up. Panic follows. And panic drowns technique.
Kicking: less is more (way more)
Your legs aren’t engines—they’re stabilizers. A small, relaxed flutter from the hip—not the knee—is all you need. Over-kicking wastes energy and creates drag. Think of your kick as a metronome, not a motor.
| Technique Element | Common Mistake | Effective Fix | Time to Master (Avg.) |
|---|---|---|---|
| Body Position | Hips sinking due to lifted head | Look straight down; imagine a line from crown to toes | 2–4 sessions |
| Breathing | Holding breath underwater | Exhale continuously through nose while face submerged | 1–3 sessions |
| Arm Entry | Slapping water with flat hand | Enter fingertips first, extend forward like reaching over a barrel | 3–5 sessions |
| Kick Amplitude | Big knee-driven splashes | Small kicks from hip; heels barely break surface | 2–4 sessions |
The industry secret no swim school will tell you
Elite swimmers don’t “pull” water. They slice through it. And here’s the contrarian truth: the best propulsion starts after your hand enters the water—not when it moves backward.
Most beginners yank their arms toward their hips immediately. Wrong. The real magic happens in the “catch”—that subtle moment when your forearm angles just right to press water backward without turbulence. But you can’t feel that until your body is balanced. So—balance first, then catch, then pull. Reverse that sequence, and you’re just stirring soup.
Try this drill: Stand waist-deep. Extend one arm forward, palm down. Now slowly tilt your torso forward until your face touches the water—without moving your arm. Feel how your shoulder loads? That’s the catch position. Replicate that feeling while moving, and efficiency skyrockets.
Frequently Asked Questions
How long does it take to learn basic swimming techniques?
With focused practice on posture and breathing, most adults gain water confidence in 4–6 sessions. Mastery of efficient strokes takes 3–6 months.
Can I learn swimming techniques for beginners without a coach?
Yes—but only if you record yourself. What you *feel* and what you *do* rarely match. Video feedback is non-negotiable for self-taught progress.
What’s the biggest mistake total beginners make?
Holding their breath. It spikes anxiety, ruins buoyancy, and breaks rhythm. Exhale underwater—always.